
internal:proddocs:5720
This is an old revision of the document!
Warning: Undefined array key 1 in /data/docs.osukl.com/public_html/lib/plugins/note/syntax.php on line 103
Warning: Undefined array key 1 in /data/docs.osukl.com/public_html/lib/plugins/note/syntax.php on line 103
Warning: Undefined array key 1 in /data/docs.osukl.com/public_html/lib/plugins/note/syntax.php on line 103
Table of Contents
5720 BUILD INSTRUCTIONS
Once the PCB has been assembled, the unit must be programmed and tested before final assembly and potting.
Assembly Instructions

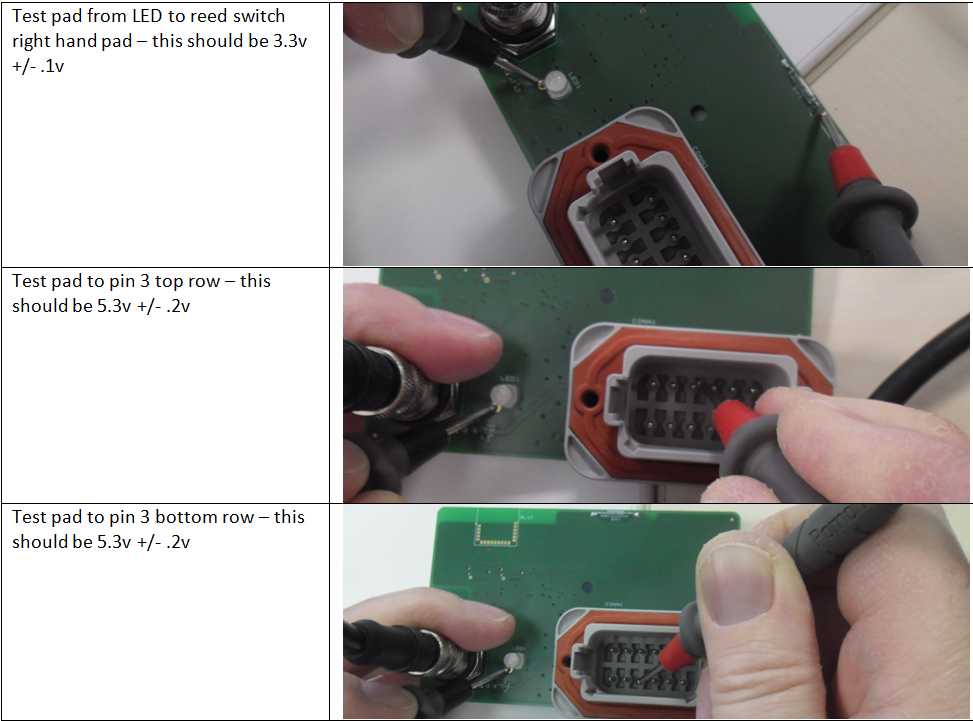

Programming and Test
- 1. Power Supply
- 2. Voltmeter
- 3. NMEA 2000 Network
- 4. PC running MONEX 3.6 or later
- 5. 5720 Test Harness
- 6. STM32 STLink Programmer with Tag Connect Lead.
The 5720 PCB assembly contains components that are sensitive to electrostatic discharge (ESD) – please make sure you are wearing your wrist strap when handling.


- Go to “fuel flow” tab
- Press “reprogram” – select appropriate file and double click. Programming takes approximately 15 seconds, and during this time the box below the “reprogram” button will display various text. Once complete, the LED will change from flashing red to flashing blue.


Repeat the process across the white and blue wires – this will also give a value of 51 degrees +/- 1.5 degrees


Manual Printing Instructions
- Go to (S) Drive.
- Parts Documents.
- Select 5720
- Select PDF's.
- Select 5720 user manual and print.
Label Printing Instructions
- Choose labels required
- Select (LabelDirect)
- Close (Pop Up)
- Go to file-open
- Select - Parts documents
- Select - 5720
- Select - Labels
- Select - UL_5720
- Highlight Serial number and change in Text box.
- Go to Incrementing number Properties and change serial number.
- Go to file -Print Setup
- Select bradyBBP11-34L(copy 1) and select Calibrate.
- label will calibrate.
Packaging
Use enter when building
internal/proddocs/5720.1624283292.txt.gz · Last modified: 2023/07/12 14:11 (external edit)